Repainting an Endeavor CRJ is an eight-day transformation carried out by Dean Baldwin Painting in Macon, Georgia, with Endeavor Tech Ops representatives on site to ensure brand and quality standards are met at every step. From inspections and masking to stripping and final approval, reps remain closely involved throughout the process.
Today’s CRJs are finished with durable, UV-resistant Mankiewicz paint and receive a full repaint approximately every eight years, or sooner if needed. Bob Williams, one of Endeavor’s Heavy Check representatives, explains how two on-site reps work together to guide the effort.
“The maintenance rep oversees the planning, paperwork, and release of the aircraft, while the quality rep serves as an on-site inspector,” Williams said. “We love watching the plane transform into an aircraft that truly represents our brand.”
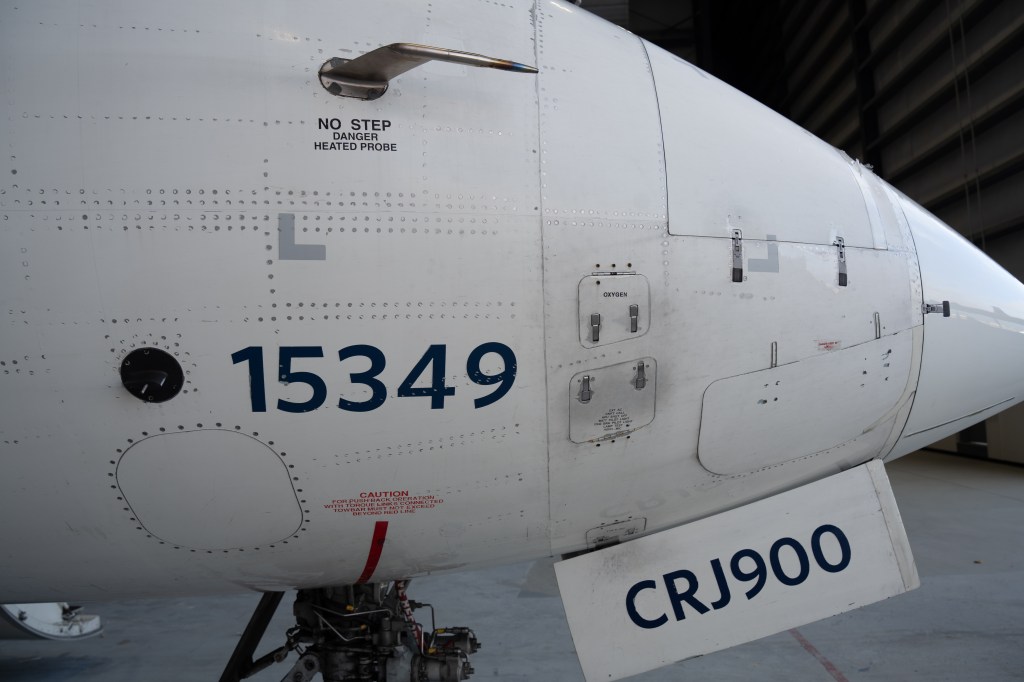
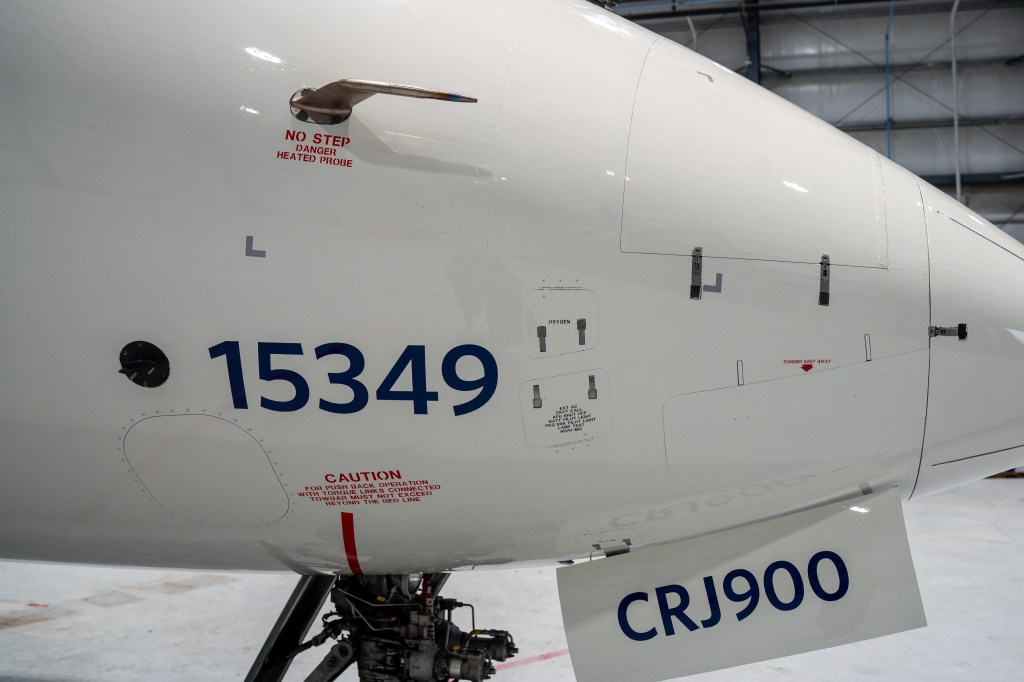
THE REPAINTING PROCESS: DAY BY DAY
Day 1
The aircraft is photographed and deactivated by the contractor.
Endeavor reps review the Dent Tracking Log and verify each documented dent location.
Day 2
Composite areas are masked, and reps inspect windows from inside the aircraft to ensure proper protection.
The first coat of stripper is applied to the fuselage, followed by rinsing. Masking is removed, except for the windows.
Day 3
Sanding begins.
“This is the most crucial part,” Williams said. “From the day sanding starts, I can usually predict whether the aircraft will be completed on schedule.”
Day 4
The aircraft is washed and treated with an alkaline solution. Reps verify all sanding residue has been removed and inspect the bare metal for any undocumented damage. If repairs are required, a road trip team is dispatched or the aircraft is ferried to a maintenance base. Paper masking is then applied, followed by a tan primer and inspection.
Day 5
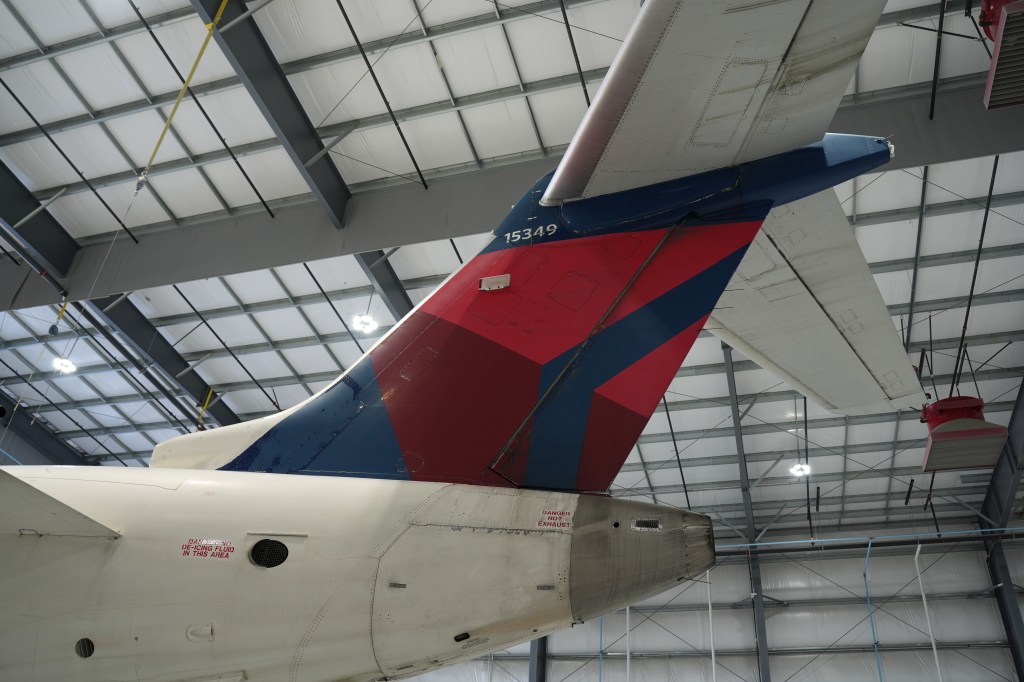
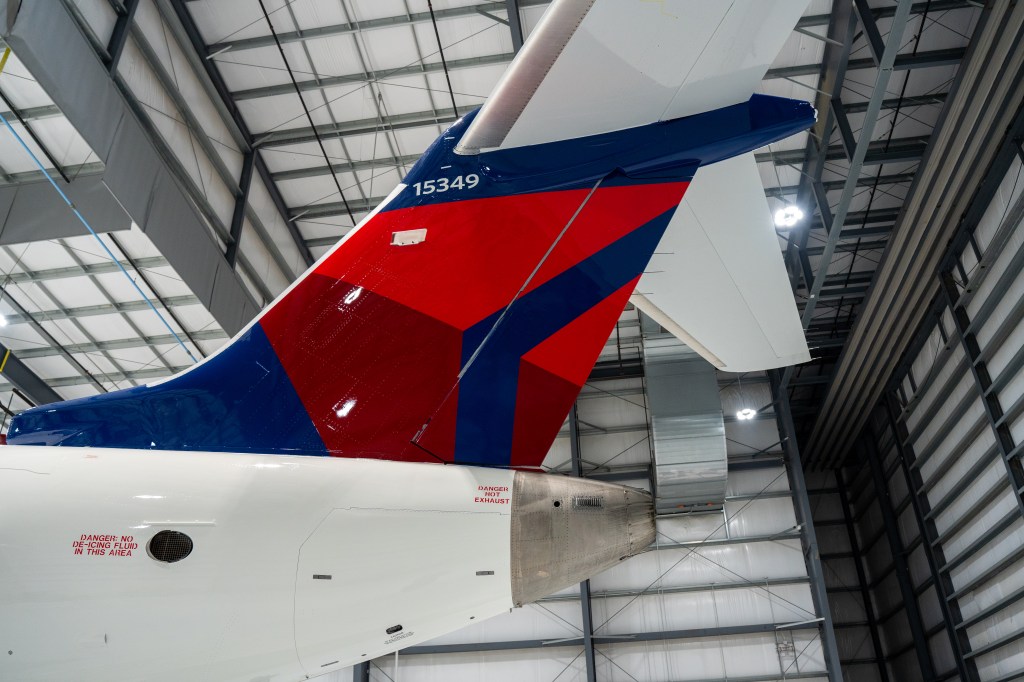
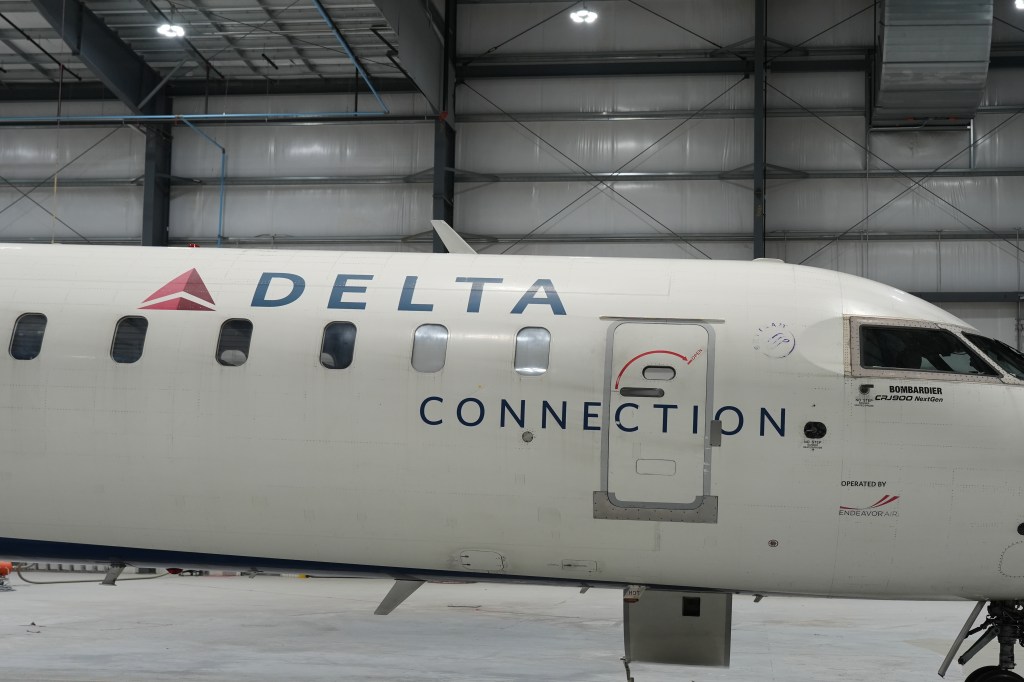
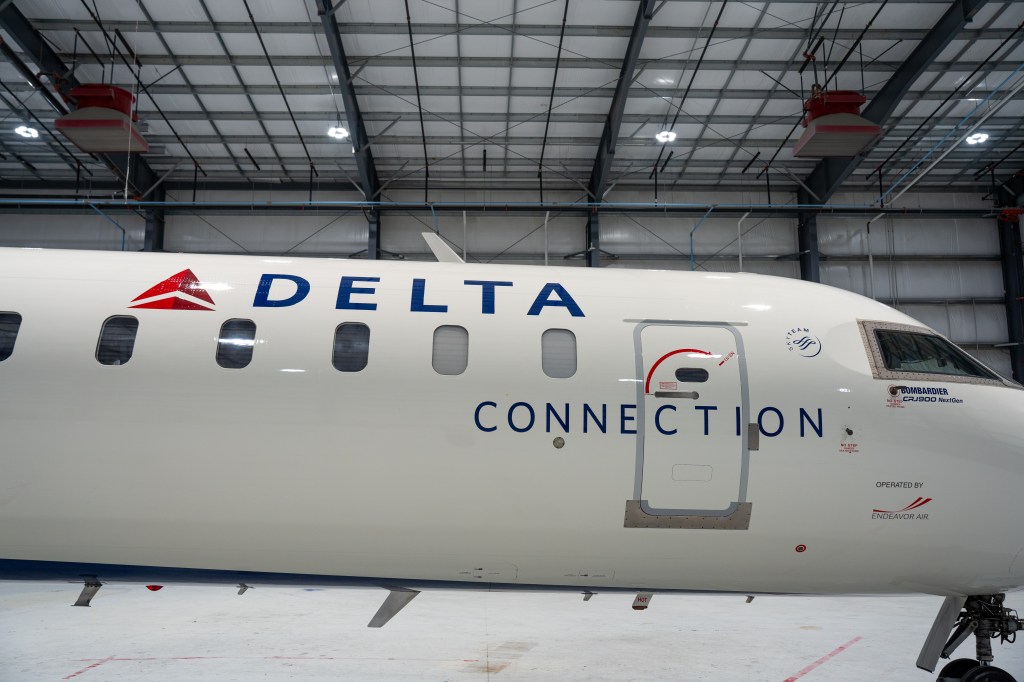
Blue paint is applied to the belly, Delta Connection titles, Delta logo, and nose and winglets. Wings, surrounding doors, and the horizontal stabilizer are painted gray.
Day 6
Stencils are placed for logos, the N-number, and the Delta widget. The widget is laid out free-hand and painted in Delta red. The blue wave is carefully measured for proper curvature, and white paint is applied to the fuselage. Reps inspect the transition line for overspray.
Day 7
Placard installation begins overnight. Reps conduct hands-on inspections of placement, colors, and stenciling before approving the clear coat. The aircraft then dries for up to 16 hours.
“This is my favorite part,” Williams said. “You’ve never seen a plane look so shiny.”
Day 8
Erosion tape is applied, and reps use the Dent Tracking Log to mark previous damage locations. Final discrepancies are corrected, the aircraft is reactivated, weighed, and all job cards and logbook entries are completed before the aircraft is returned to service.
“This is the most challenging part,” Williams said. “It takes time to go over every detail and make sure nothing was missed.”